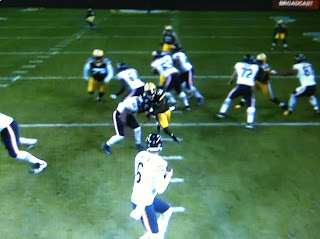
Here is the first play of the game from the Packers debacle on Thursday. Let's analyze why the breakdown happened. Here is the pre-snap look:
Now, watch the gaping hole created by Spencer's down block followed by Webb's kick-out:
Now, look back at where Forte started. Look at his feet. He's on the hashmark. Notice here that after "taking" the play fake, he's practically in the middle of the field. The point here is that his weight is moving to his left in order to take the play fake. At the same time, the blitzer is able to immediately cut across Forte's body because of all the space created by Spencer's movement to his right. Also notice in the next picture that Forte is unable to cut immediately to his right to square up the defender because Jay is still in the way.
The next three pics show the block itself. We can see here why Forte led with his shoulder instead of remaining squared up at contact.
Lastly, this is where Forte needs to do a better job. Even though he was put in a bad position, he needs to stick with the blitzer and drive him away from the pocket instead of getting cradled up as he does here:
More analysis of the game (specifically on all of the sacks) to follow.


No comments:
Post a Comment